Showing posts with label Love Mom Layers. Show all posts

Wednesday, June 3, 2015

Wplus9 Day 3 June Release Previews


Hello Everyone, welcome back to Day 3 Wplus9 June 2015 Release Previews.
Today I am showcasing the gorgeous Watercolored Anemones and Dreams Into Plans stamp sets.


For my first project I cut a panel of white cardstock die-cut it using the Love Mom Layers dies and stamped the gorgeous flowers of Watercolored Anemones. Next I heat embossed the Dreams Into Plans using a Champagne embossing powder on a vellum, cut to size and adhered it with a foam tape.

To finish of the card I add the vellum die-cut from leaves from Foliage Frame and added some Pretty Pink Posh Sparkling Clear sequins to finish off the card.


For my second card I adhered a woodgrain patterned paper on my A2 cardstock. Next, I stamped the Dreams Into Plans stamp set on a white cardstock in the New Wplus9 Black Ink. Next, I adhere the vellum and the twine. I added the Watercolored Anemones on the front panel that I fussy cut, but the flowers were die-cut using its coordinating dies.

I added some Sparkling Clear sequins from Pretty Pink Posh to finish of the card.


I hope you guys enjoyed!

Thank you so much for stopping by.
For More inspirations please visit....
Dawn
Kara
Maureen
Kelly 


Have a Wonderful Day :)


Wednesday, April 15, 2015

Wplus9 - Smart Kitty Birthday Wishes & Giveaway Winner!!!


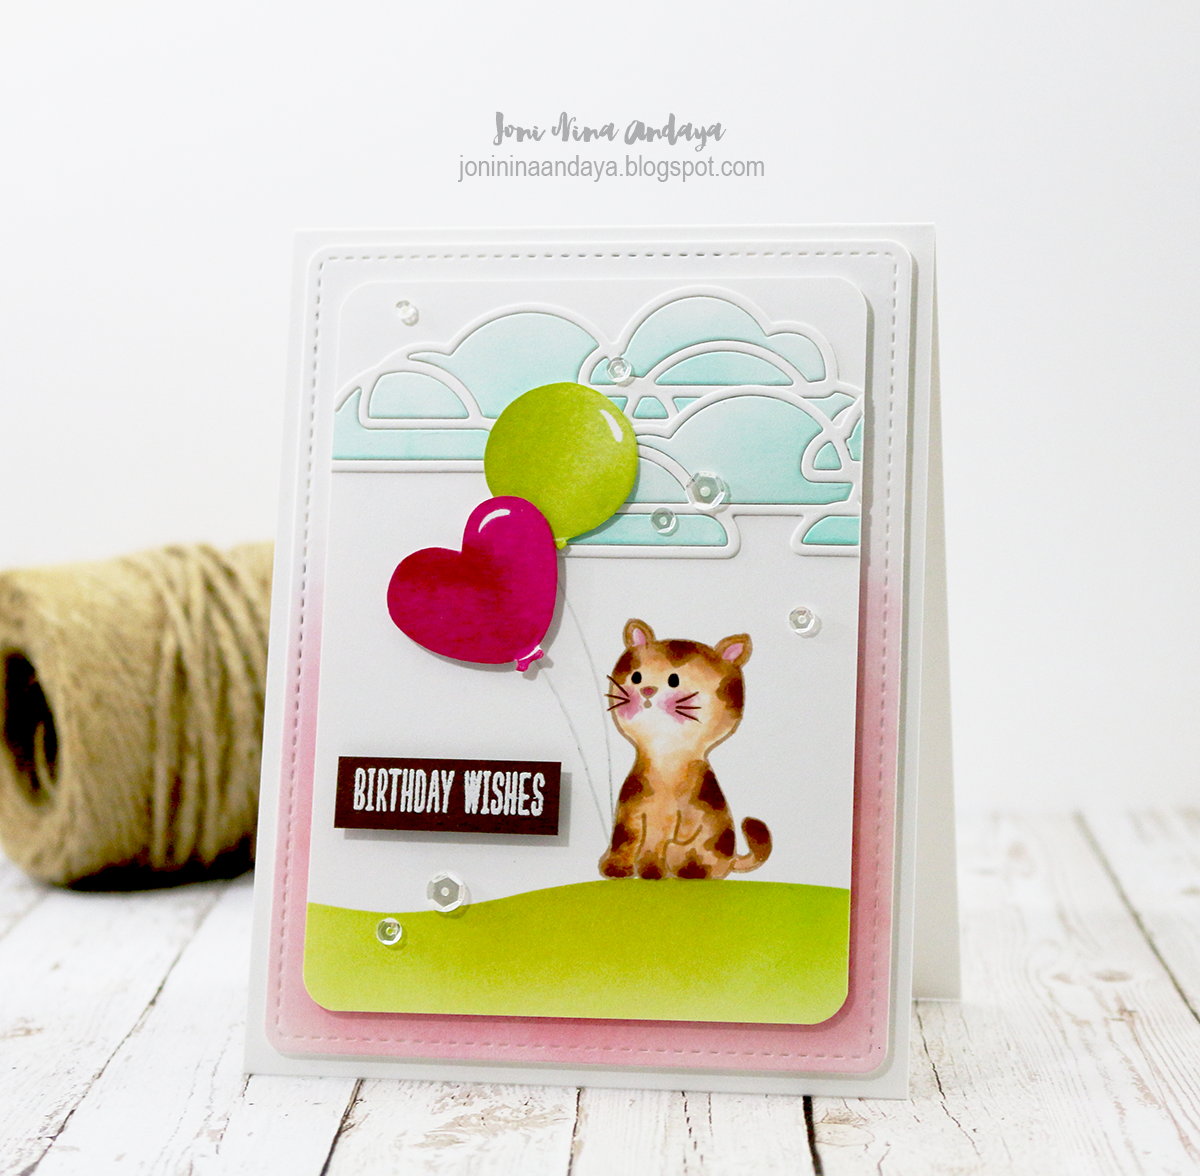
Hello Everyone, I am back with another Smart Kitty inspiration.
In this project I combined the New April 2015 Released Smart Kitty with the new  Cloud Border die along with the past released Basic Banners, and Whole Lotta' Happy stamp sets.


To begin I die-cut a white panel using the new Love Mom Layers die set for added stitching look and distress the bottom using the Distress ink in Spun Sugar to tie in the pink from the balloon. Then I used another white cardstock panel where I created my scene.

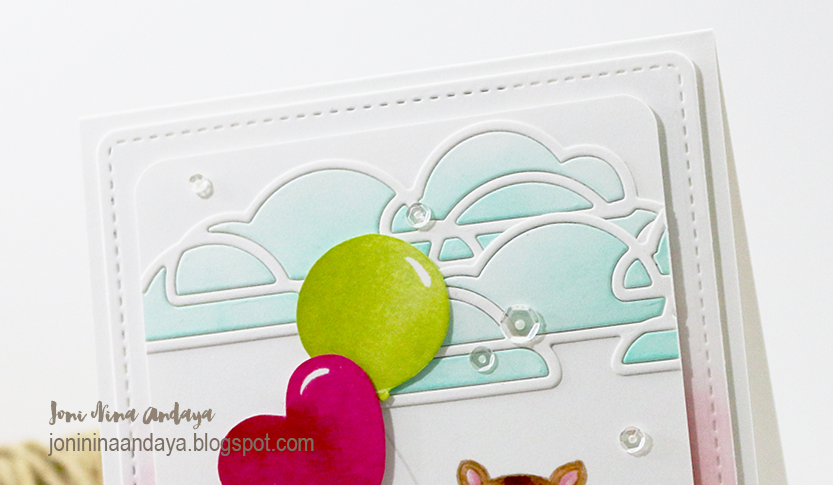
For the clouds I die-cut the clouds on a white cardstock and distressed it using the Wplus9 PURE Color dye ink in Bo Peep. Then I die-cut another white cardstock for outline of clouds using the dies.
I adhered the white outline first on the top panel and puzzled out the pieces of the clouds inside the white outline to get the distressed look I am going for.

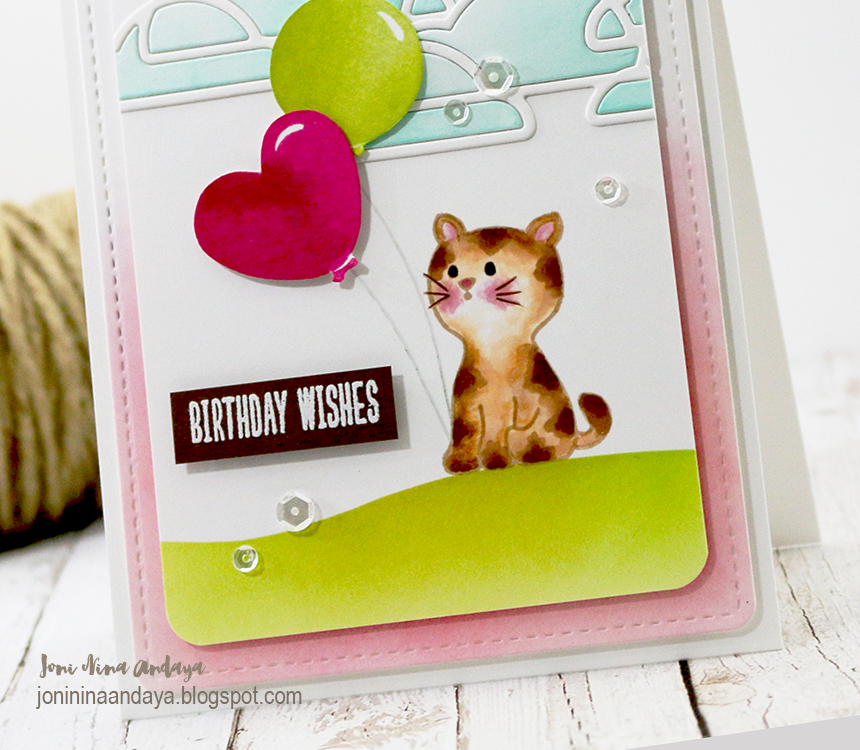
For the balloons, I stamped the balloons on a white cardstock and fussy cut.


Next, I distressed the bottom of the top panel by masking then stamped the kitty and Copic colored it. Next, I stamped the balloon strings from Whole Lotta' Happy on the paw of the kitty as if it is holding the strings and adhered the balloons with foam dimensional tape.

Finally I added some sparkling clear sequins from Pretty Pink Posh to finish off the look.


I hope you guys enjoyed!


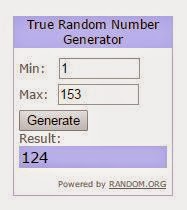
Also the WINNER of the Smart Kitty Collection goes to....


Congratulations Kay!!!
Please email me back with your addy and I will ship the Smart Kitty to you :)


Thank you so much for everyone's sweet comments, giving your two cents and ideas on what you would like to see in the future,
 You guys are the best!!!
Don't worry there will be more Giveaways to come.


Thank you so much much for stopping by.
xoxo


Thursday, April 9, 2015

Wplus9 - Love Mom

Hello Everyone, welcome back to 4th day previews of Wplus9 April 2015 Released.
Today I am showcasing Love Mom stamp set, Love Mom Layers dies set, and Stitched Heart Border die.


For this card I started cutting a pink cardstock same size as an A2 card base and adhered the pink cardstock on top of the A2 white card base. Next I die-cut a grey cardstock using the Love Mom layers die set, first with the large stitched frame and I die-cut the grey panel again with the large double stitched circle die to create a window below for the grey panel of the card.

Next, I die-cut the white card panel same size of the grey panel then distressed the window of the white panel with just a hint of PURE Color dye inks in Bo Peep and Beanstalk. Then adhered the grey panel on top of the white panel.


Next, I stamped the flowers and leaves from the Love Mom stamp set then fussy cut each image, this helps to show off those lovely stitch on the flowers, then adhered those flowers on the panel.

Next, I die-cut the Stitched Heart Border die on gold patterned cardstock from Michaels and some white regular cardstock, then stacked the die-cut on top of each other to give it some dimensions on the bottom of the card.

Next, I added some white hearts that I die-cut using the Love Shower Layers die set and adhered the hearts all over the panel for added touch.

For the sentiment I used the "thank you for all you do" from the Love Mom stamp set and added the mom sentiment die-cut from Love Mom Layers dies set.

Finally, I added some Pretty Pink Posh sequins in Pink Peonies, Pink Blush, and Lemon Drop to finish off the card.


I hope you guys enjoyed these new fun products.

For more inspirations please visit...


Thank you so much for stopping by.
xoxo


Wednesday, April 8, 2015

Wplus9 - A New Day


Hello Everyone and welcome back to Day 3 previews of Wplus9 April 2015 Released.
Today I am showcasing the new Coal Mine cardstock, A New Day  stamp set along with Love Mom Layers die set.


To begin my card I first cut the patterned paper same size as the A2 card and adhered onto the white card base. Next, I die-cut the white cardstock using the large stitched frame from the Love Mom Layers die set and distressed it with PURE COLOR dye ink in Wild Mango and Falling Star. Then I die-cut the new Coal Mine cardstock using the large stitched frame and large double stitched circle die from the new Love Mom Layers die set. Then adhered the two panel together the coal mine being the top panel.


Next, I stamped the cute chickadee from the A New Day  stamp set on a white cardstock and colored it with cheap Watercolors from Michaels, fussy cut the image and adhered it on the panel.

The sentiment "Tomorrow is a new day" is also from the same stamp set, the sentiment was heat embossed in gold directly on the Coal Mine cardstock panel.

To finish off the card I add some Sparkling Clear sequins from Pretty Pink Posh.


For my next card I first stamped the chickadee on a watercolor paper and colored it using Distress Inks from Ranger. The colors I used were Vintage Photo, Walnut Stain, Mustard Seed, Dried Marigold, Barn Door, Crushed Olive, and Peacock Feather.


To create the background I combined diluted Peacock Feather and Vintage Photo. You can see the current video that shows how to create this background if you are interested HERE.

I then added some splatters of ink in Vintage Photo, Wild Honey, and Crushed Olive. For the sentiment I used the hello die from the Hand Lettered Hello and added the "friend" sentiment from Fanciful Feathers stamp set.

To finish off the card I added some Pretty Pink Posh in Lime Sorbet.


I hope you guys enjoyed!

For more Inspiration please visit...


Thank you so much for Stopping by!
XOXO


For Giveaway
Please click HERE


Monday, April 6, 2015

Wplus9 April 2015 Day 1 Preview - Smart Kitty


WPlus9 April 2015 Release Now Available

Hello Everyone,  I know I've been hinting you of an exciting news from the past few months now its been really hard to keep this secret
.
Now its time to reveal that I am Illustrating with Wplus9, its been my long awaited dream that someday I can share my illustrations with you. I hope that you will like this very first one as much as I love illustrating it.

I am so very ecstatic about this very first set I designed. Its really PUURFeCT for school cards but also have lots of possibilities with other projects as well. This also will work well with the other Wplus9 products you might already have :)

Smart Kitty stamp set comes with its Smart Kitty Coordinating die set.
The Smart Kitty stamp set have 7 Sentiments and 17 images
The Smart Kitty Coordinating die set have 13 die-cuts.


For my first card I created a shaker card using the Wplus9 Sunshine Layers scalloped stitched die and used it with the New Love Mom Layers die set. For this shaker I used the double stitched circle die from the set. 

For the sequins I used Pretty Pink Posh Pink Blush , Marshmallow, and Watermelon :)


Next, I adhered the shaker on the card base with the striped patterned paper. For the cute kitties I stamped them on a separate white cardstock colored with Copics a long with the cap and tassels then fussy cut each one.


Next, I adhere the kitties on the bottom of the round window for the shaker and added the sentiment from the set that was white heat embossed, stamped on a piece of patterned paper, and cut both ends to make it into a banner. Then adhered it with foam tape for dimensions.


For the second card I used a background of hello from Hey Hi Hello die set using the kitty with the books and the bow this time around.


I die-cut lots of hello from a cream cardstock and adhered it on a kraft cardstock.


Then added a strip of dark violet cardstock and white heat embossed the sentiment "Cool Cat" from the set. Then added a strip of patterned paper at the bottom. The kitty was colored with Copics  as well the bow and the books. 

The kitty, bow, and the books were fussy cut and adhered on the bottom with foam tape.


I hope you guys enjoyed!

I will be giving the Smart Kitty and Smart Kitty Coordinating dies on the blog to one lucky commenter, I will let you know when, just make sure to stop by this week :)


For more inspirations you can visit...


Thank you so much for stopping by :)
XOXO.