Showing posts with label Reverse Confetti. Show all posts

Monday, December 8, 2014

Reverse Confetti December 2014 Blog Hop!

Hello Everyone!!!
Welcome to the Reverse Confetti December 2014 Blog Hop!
The hop started over on the Reverse Confetti blog, and you should have made it here from Heather  Pulvirenti's Blog. 


For my project today I used the Seasonal Sentiments stamp set, Circle Garland Confetti Cuts. and Tagged Tote Confetti Cuts.
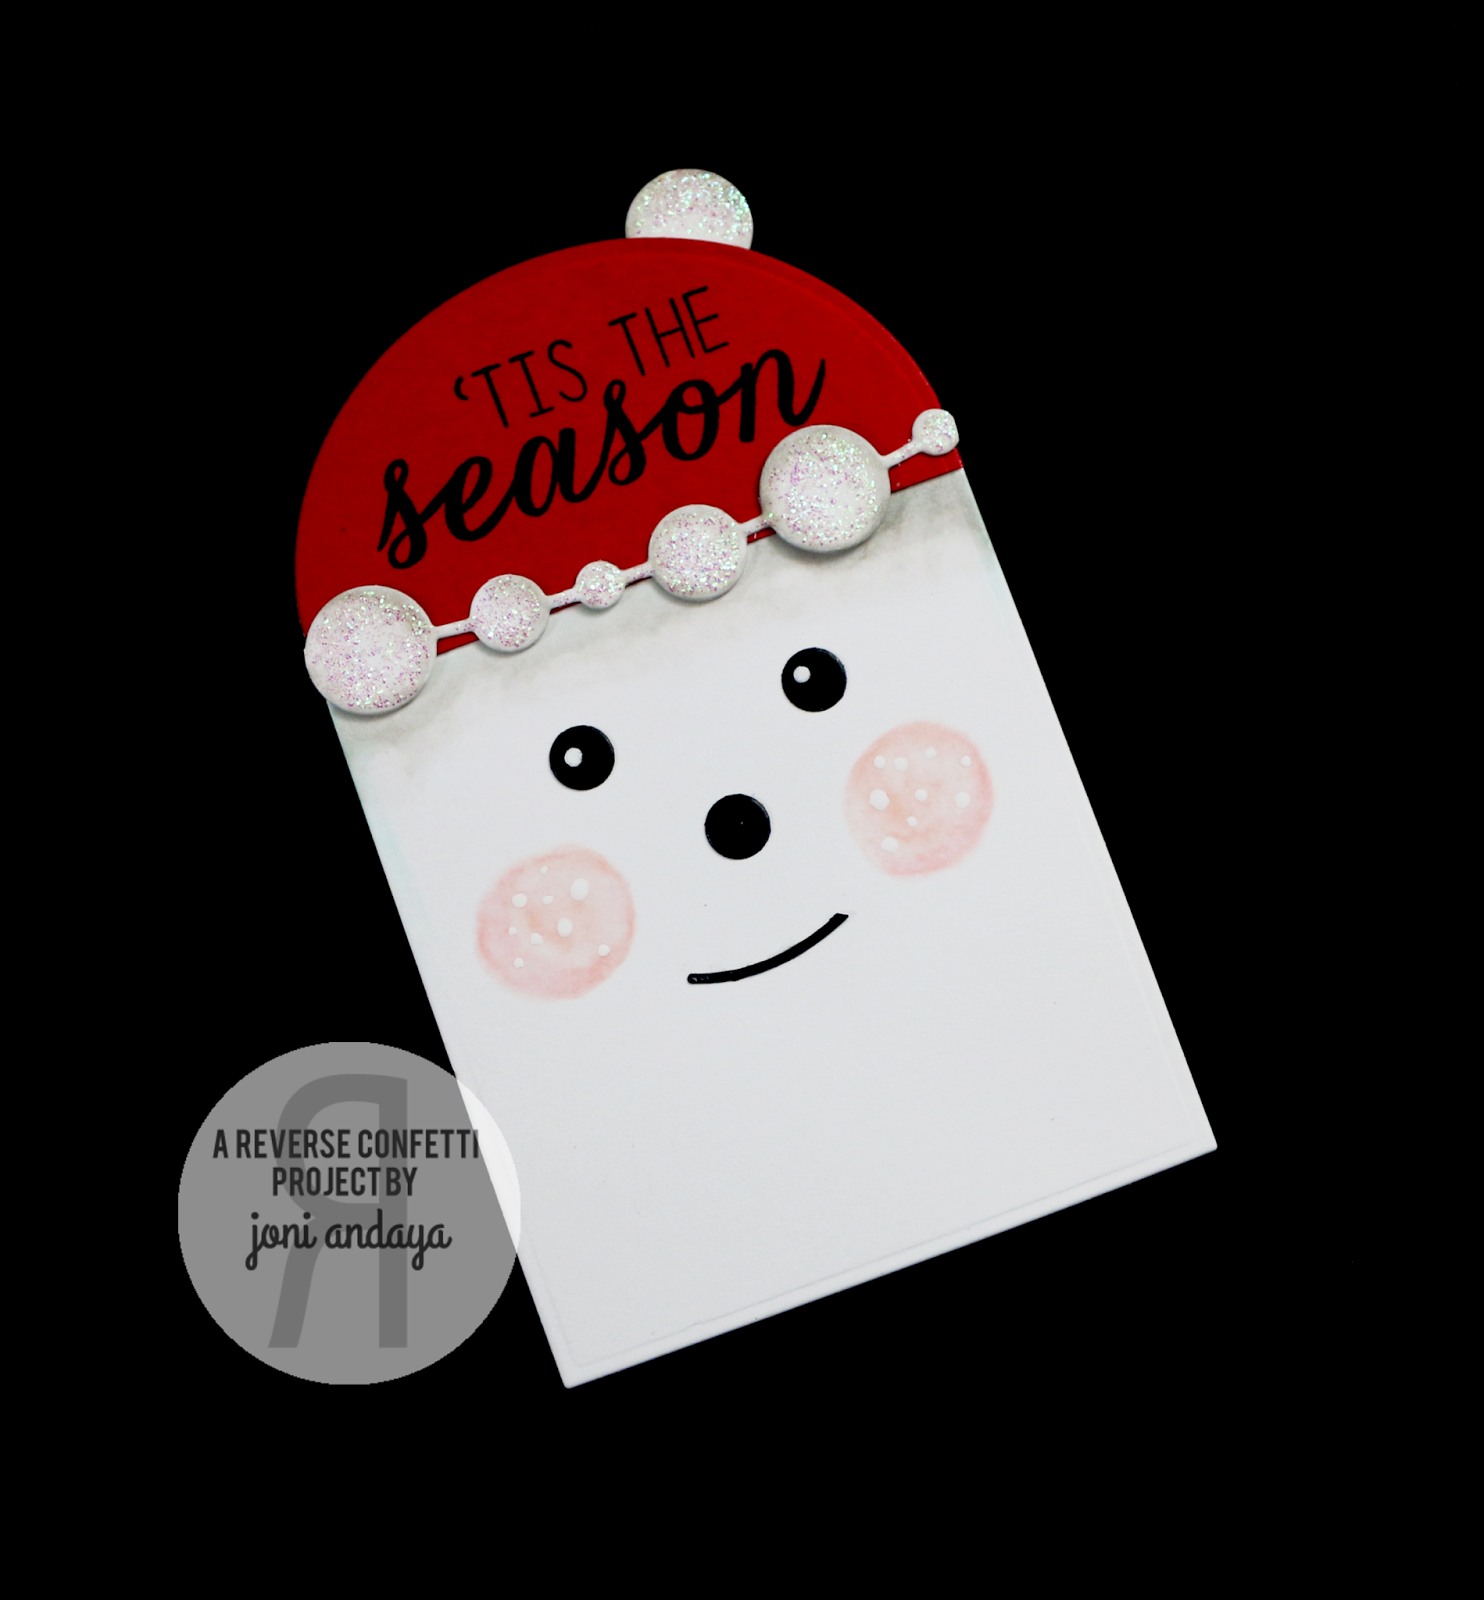

To begin my goodie bag I first die-cut the tote from Tagged Tote Confetti Cuts using patterned paper from Pink Paislee.


Next, I created the decorations for the tote using the die-cut tag, tiny tag hole reinforcer for the eyes and nose, I die-cut another tag using red cardstock for the hat, for the lips I used the strip from the bow die-cut that is also included from the tagged tote die. For the rosy cheeks added some Copic coloring, For the trim for the hat I used the Circle Garland Confetti Cuts and added some Stickles for sparkle. Finally, I added the "Tis the Season" sentiment from the Seasonal Sentiments stamp set.

I also added some white dots on the eyes and cheeks using the white Uni-Ball broad pen.


Here's the full view


I hope you have enjoyed hopping with us today. Be sure and hop with us on the 8th of EVERY MONTH for more REVERSE CONFETTI inspiration! 

Now it’s time to hop on over to Lisa Henke's blog. If you get lost along the way, you can find the hop order and list of all the participating designers over on the Reverse Confetti blog.

For Giveaway please stop by at Reverse Confetti blog.


Thank you so much for stopping by!
HAVE A WONDERFUL DAY HOPPIN'


Wednesday, November 26, 2014

RC - Special Delivery


Hello Everyone, sharing with you the card I made for a friend. He is celebrating his birthday this Nov. perfect for the cold season gift image :) for a card.
The stamps I used are from Reverse Confetti North Pole Wishes and Quirky Cuties: Marley Moose.


First I cut a panel a little smaller than an A2 card then stamped Marley. I then colored him in Copics. Next, I created a mask of him and masked him then used my distress tool to distress his background. Next, I splatter some Mr. Huey Color Shine for a snowy effect on the card. Next, I removed the masked and dic-cut a kraft cardstock from Pretty Pink Posh Stitched Border 1 Dies (stitched zigzag) and stamped the sentiment from North Pole Wishes stamp set.


For Marley's scarf after coloring I added a white pen for added touch. Also at the bottom of his shoes I added some Stickles for added shine on the ground he's standing on.


Here's the full image of the card.

I hope you guys enjoyed!


Thank you so much for stopping by!
HAVE A WONDERFUL WEEK.


Tuesday, November 11, 2014

Reverse Confetti - November SFYTT


Hello Everyone, its time for another Sketch For You To Try @ Reverse Confetti Blog.


For my card I used Branch Out Confetti CutsPretty Panels: Mini Circle Garland Confetti CutsLet it Snow Confetti CutsSeasonal Sentiments

To begin my project I first distress the bottom of the card panel then adhered the patterned papers on the middle of the card. Next, I die-cut the Pretty Panels: Mini Circle Garland Confetti Cuts using a gold cardstock. Then I die-cut the Branch Out Confetti Cuts and adhere it on top of the Pretty Panels: Mini Circle Garland Confetti Cuts. Then I stamped the sentiment from Seasonal Sentiments. To finish off the card I added some gold sequins from Pretty Pink Posh. I also added some wood veneers stars from the past PPP released.


I hope you guys enjoyed!


Thank you so much for stopping by!
For more inspiration, please stop by at Reverse Confetti Blog.


Have a Wonderful Day!


Saturday, November 8, 2014

Reverse Confetti November Release Blog Hop!


Hello Everyone, welcome back to the Reverse Confetti Blog Hop!


Well, the holidays are right around the corner and REVERSE CONFETTI has just released a collection of new products that will help get you in a festive mood and give you a jumpstart on your holiday crafting!  With 4 stamp sets and 7 new Confetti Cuts dies/sets, there’s plenty to choose from.  You can even sprinkle your projects with a little donut love without having to go up a jean size!  Join us!  Put on some of your favorite music (Christmas, perhaps?), sit back and enjoy the new release blog hop

The hop started over on the Reverse Confetti blog, and you should have made it here from Jessica Fick's Blog. 

For my project I used the new Circle Garland Confetti Cuts, Seasonal Sentiments, and Marley Moose stamp sets. I first added the strip of wood-grain patterned paper on the side of the card base. Next, I stamped, colored Marley Moose on a separate white cardstock, and fussy cut, then adhere behind the wood-grain patterned paper as if he is peeking behind it. Next, I added some splatters of Studio Calico color mist in Classic Tan. I also die-cut the Circle Garland, distress and adhere on the card. To finish off the card I added the sentiment "'Tis The Season".

Here's the full image.

I hope you’ve enjoyed hopping with us today. Be sure and hop with us on the 8th of EVERY MONTH for more REVERSE CONFETTI inspiration! 

Now it’s time to hop on over to Lisa Henke’s blog. If you get lost along the way, you can find the hop order and list of all the participating designers over on the Reverse Confetti blog.

Thank you so much for stopping by!

.........................................................................................................................................

A few things before you hop along though, just to keep you “in the know”…
November’s SKETCH FOR YOU TO TRY is open for you to play along.  Click HERE for a chance to win and become our newest ‘Fetti Fave! 

Celebrate the creative side of you!


Friday, November 7, 2014

Reverse Confetti - North Pole Wishes + Coordinating Dies and Seasonal Sentiments


Hello Everyone, welcome back with Reverse Confetti November Release.


For my first project I used the upcoming North Pole Wishes stamp set with North Pole Wishes Confetti Cuts.

To begin I splattered the card base with ink, then adhere the stamped die-cut tag from Tag Me, Too Confetti Cuts. I stamped the sentiment on the white cardstock first then die-cut using the Tag Me, Too die. I also die-cut the holly and envelope using the North Pole Wishes Confetti Cuts on a watercolor paper, this gives the watercolored look that I am going for. I then added the black ribbon twine sequins in classic christmas sequins  mix (used the red for the berries) also use the (green on the card base) with green moss sequins in 6mm from Pretty Pink Posh.


Here's the full view.


For my second project I used the new upcoming Seasonal Sentiments stamp set with Let It Snow Confetti Cuts.


To begin I distress the white card panel first with Peacock Feather distress ink, as well as the Let It Snow die-cuts. Next, I stamped the sentiment from Let It Snow in gold embossed on the tag from Tagged Tote. I then adhered the die cut tag from Tagged Tote on top of the distressed panel and adhere the distress snow die-cuts from Let It Snow. I also added some Studio Calico Color Mists in Shine to finish off the card.


I hope you guys enjoyed!
Make sure to stop by at Reverse Confetti Blog for more inspiration

Be sure to leave a comment at each stop along the way for a chance to win!


Thank you so much for stopping by :)
Have a WONDERFUL Day of inspirations!


Thursday, November 6, 2014

Reverse Confetti - Donut You Know + Coordinating Confetti Cuts

Hello Everyone, Reverse Confetti is having another exciting Holiday Release.
Just a note, that everything will be available for purchase on November 8th.


Today we are showcasing Donut You Know stamp set and Donut You Know Confetti Cuts.
Really a cute set that can be use whole year round.


For my project I also used the new Triple Chevies Confetti Cuts and adhere it on the card panel.
Next, I stamped the tiny hearts on the Triple Chevies Confetti Cuts, distressed the bottom of the card, and stamped the sentiment "Sprinkled with lots of love" from Donut You Know stamp set in black. I also die-cut the Confetti Cuts Pretty Panels: Circle Garland, distressed and adhered on the card. Next, I die-cut the Donut Confetti Cuts on watercolor paper, let it dry and adhere on the card.


Here's the view of the full card.


I hope you guys enjoyed!


Make sure to stop by at Reverse Confetti Blog for more inspiration

Be sure to leave a comment at each stop along the way for a chance to win!


Thank you so much for stopping by happy love heart emoticon
Have a WONDERFUL Day of inspiration!


Saturday, October 11, 2014

Reverse Confetti - SFYTT


Hello Everyone its time for another Reverse Confetti SFYTT.


To begin my card I first die-cut a panel using the reinforcer dies that are included in the Tagged Tote Confetti Cuts to create some round holes on the panel. The panel is the same size as the A2 card. I then cut some strips of patterned paper and adhered the strips on the front of the card panel. I also added some dots on the panel from the recent release Roundabout stamp set. For the flame of the candle I fussy cut from the glittered gold foam then adhered. I distress the card base with distress ink to have that yellow color peaking through the holes. For the sentiment I used the sentiment from In A Big Way and Give Thanks stamp sets. I also used the Coordinating Label Die of the Give Thanks.
To finish off the card I added some Marigold sequins from Pretty Pink Posh.


Here's the full view of the card.


I hope you guys enjoyed!


For more inspiration please visit Reverse Confetti Blog.


Thank you so much for stopping by!
Have a Wonderful Weekend Creating :)


Wednesday, October 8, 2014

Reverse Confetti - Hanging Out


Hello Everyone, I am back with more Reverse Confetti goodness.
You should come from  HEATHER PULVIRENTI  blog.


Today its all about HANGING OUT Confetti Cuts with ROUNDABOUT, and ROUNDABOUT ADDITIONS stamp sets. I also used the Circles 'n Scallop Confetti Cuts to die-cut the Roundabout, and Roundabout Additions sentiments.


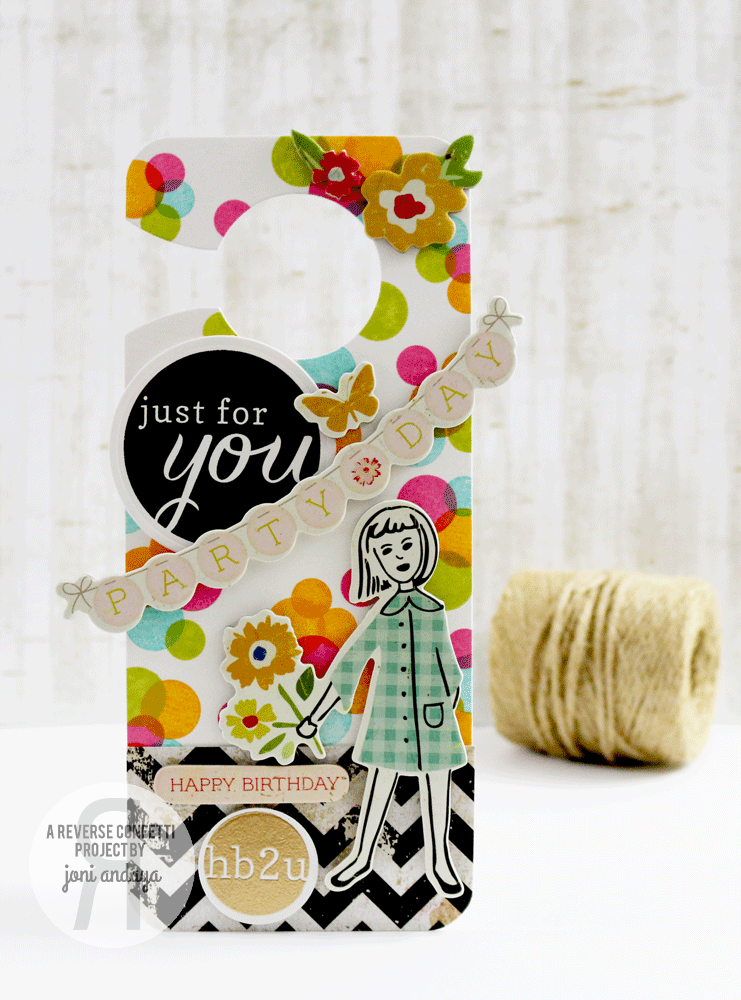
To begin my door hanger project I die-cut my cardstock using the new HANGING OUT Confetti Cuts. The cardstock measures a little over 3 1/2 inches x 8 inches long. I then stamped some dots from ROUNDABOUT stamp set then adhere a strip of patterned paper from Heidi Swapp at the bottom of the card to give it some balance since I am using black ink for the sentiment.

Next, I stamped the sentiment "just for you" in black ink and die-cut using the Circles 'n Scallop Confetti Cuts and adhere on the hang door panel with foam dots.


I then adhere some of the chipboard from Crate Paper - Pretty Party to the Door hanger ready to hang on my daughter's door knob to surprise her on her upcoming Birthday. 

I also added another sentiment "hb2u" at the bottom of the door hanger using the ROUNDABOUT ADDITIONS  stamp set embossed in gold and die-cut the sentiment using the Circles 'n Scallop Confetti Cuts.


Here's the full view of the door hanger.


I hope you guys enjoyed this new product from Reverse Confetti Store.
Remember all products are now available for purchase.

Your're next Hop is at STACEY SCHAFER blog.


 AMBER HIGHT

JESSICA FICK

AMY KOLLING

KATHY MARTIN

LEIGH PENNER

AMY SHEFFER

SARAH GOUGH

HEATHER PULVIRENTI

                                      JONI ANDAYA .......you are here

STACEY SCHAFER

TARA GODFREY

LAURIE SCHMIDLIN

LAURIE WILLISON

LISA HENKE

SUSAN LILES


Giveaway Alert: There will be TWO $15 gift certificate up for grabs. One for blog commenters, One for Facebook commenters.

Don't forget to stop by on each designer's blog to increase your chance to win. You have until 5:00 pm CST on Oct 8th and the winner will be announced on Oct 9th on the Reverse Confetti Blog.


Thank you so much for stopping by!
Have a Wonderful day hopping.