Showing posts with label Bowtiful. Show all posts

Wednesday, July 16, 2014

Add Images on your Mailable 3D Bow Template Die

If you are looking for the Reverse Confetti July Color Challenge please click HERE.
If you are looking for Day 3 post for Neat & Tangled please click HERE.
.............................................................................................................................................


Hello Everyone....this is my third post of the day :).
I know many of you really love the Mailable 3D Bow Template Die.
I want to show you how easy to stamped your images on the bow to create a unique customize design. 
Any of the Waffle Flower Crafts stamp images will work or any of your stamp images that you already have will work as well.


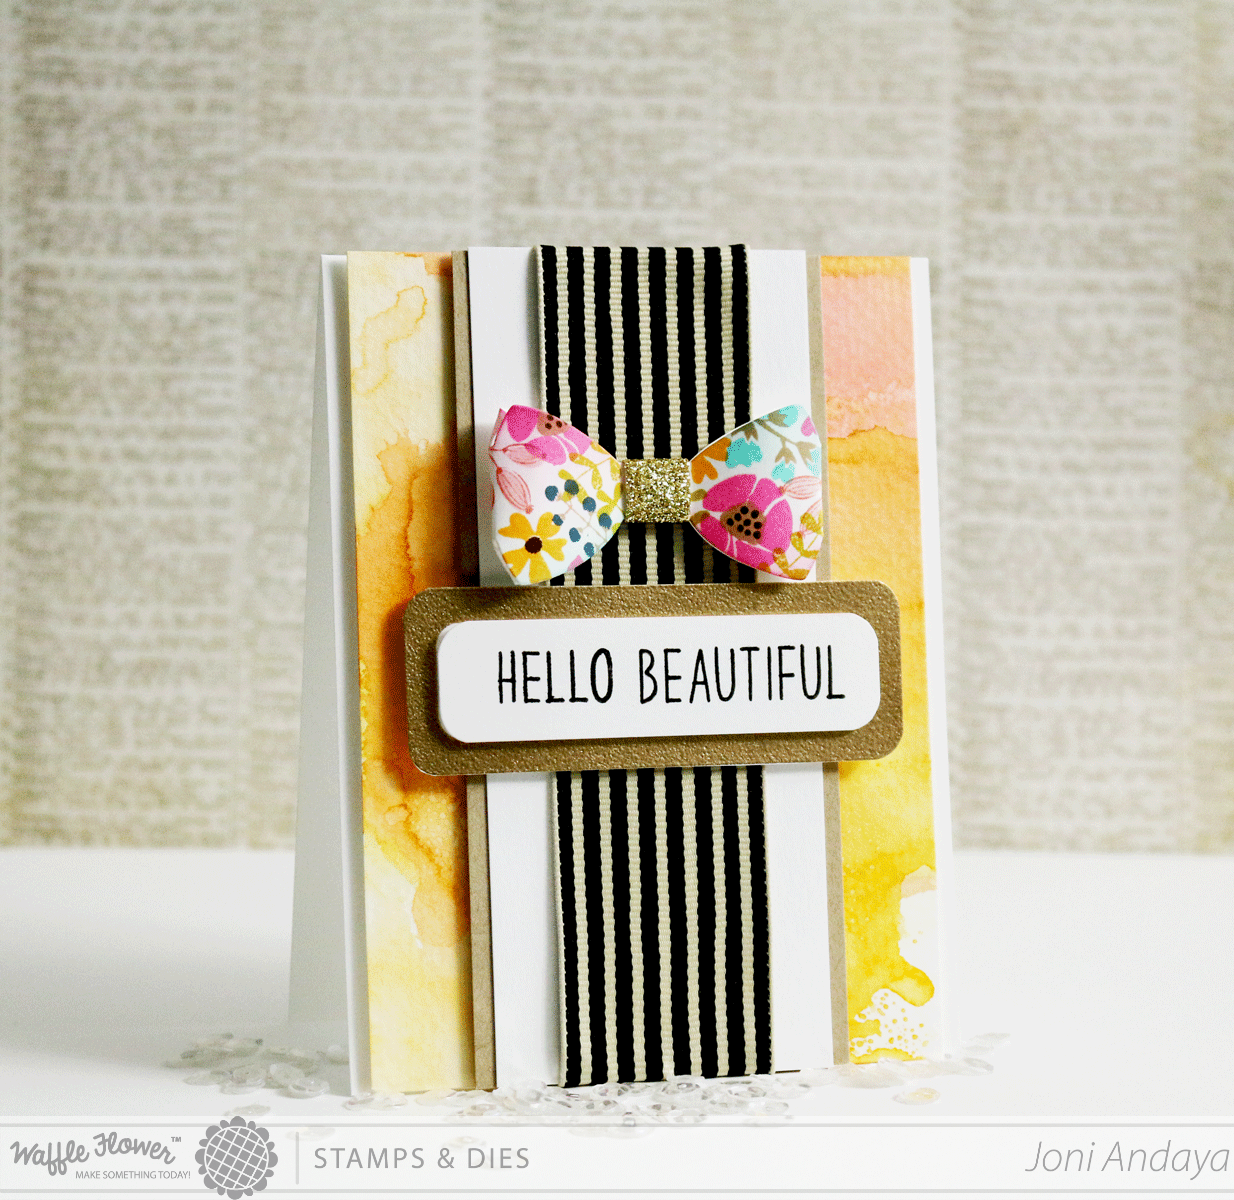
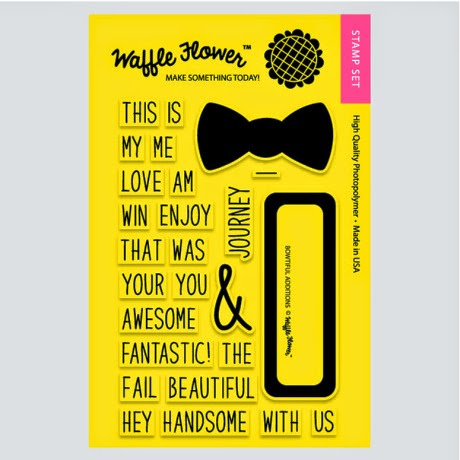
For my card project I used the products BOWTIFUL ADDITIONS (label border),
 MAILABLE 3D BOW TEMPLATE Die (bow), and LOVED stamp set (flower images)

THE PIECES: White card base, Watercolor paper that's smooched on the heat mat with water distress inks, strip of kraft cardstock, strip of white cardstock, black/white ribbon stripe from May Arts, fussy cut 
label (I changed it from pink to gold embossed instead) from BOWTIFUL ADDITIONS, the sentiment "Beautiful" is also from Bowtiful Additions "Hello" from BOWTIFUL stamp set.


Here's How I created the BOW, stamping the images from LOVED stamp set. You
can also use other stamps from Waffle Flower Crafts if you prefer.


The way it looks when it all comes together adhering the pieces with foam tape.


Here's the full image.

I hope you enjoyed!
Thank you so much for visiting me :)


Have a GORGEOUS week Creating!!!


Mailable 3D Bow Template Die

LOVED stamp set 

BOWTIFUL ADDITIONS


Monday, May 26, 2014

You Rock!

Hello Everyone...I hope you enjoyed your weekend :)
Today I am back with inspiration using the ROCK MY WORLD stamp set from
Waffle Flower Crafts.

To begin my card....

1. First, I cut a panel from a watercolor paper, then I just started stamping the rock image with a light Distress ink pad in Antique Linen and I started painting the rocks with Vintage Photo Distress ink pad. I also created the ground from using the Distress Ink pad Pumice Stone.
2. To create my color, I just smooshed the ink pad on my Heat Mat then I added some little water on the mat then start painting.
3. After stamping the rocks then I just drew a thick line on top of the rocks to create my table image, using Vintage Photo and Walnut stain to create a the rich color of the top table. 


4. Next, I then let the ink dried, then move on creating the vase for my flower. I just drew it..hehehe sorry if its not even.
5. After drawing the vase, then I watercolored it with Distress ink Tumbled Glass.
6. Next, I drew the stem and leaves using the Distress Marker Crushed Olive.
7. Then, stamped the smaller flower that's included in the ROCK MY WORLD stamp set in Distress Marker Fired Brick then, watercolored the inside of the petals using the Distress ink in Worn Lipstick.
8. For the middle of the flowers, I just colored it with the Distress Marker in Wild Honey.
9. For the final touches on the flowers and the vase, I added some white dots using the Uni-Ball Signo Broad pen.


10. As for the sentiment I just masked some of the words from "Hope that you slept like a ROCK Enjoy your day". I masked all the words except the "ROCK" and "Enjoy the day!". For the "YOU" I masked the "'RE" from the BOWTIFUL stamp set.
11. To finish off my card I just added some sequins from Pretty Pink Posh in Marshmallow (flat) and splattered some Studio Calico Mr. Huey's Shine.


Here's the view of the final card.


I hope you enjoyed!

Thank you so much for visiting :)
Have a Fabulous Day!

Friday, May 16, 2014

Love You Sew Much!


Hello Everyone....hurray for Friday :) I am sharing a card I made for Waffle Flower Crafts.
I just cannot stop using the bows from the BOWTIFUL stamp set...hehehe this bows are so easy to add to any project.


For this project I first created a separate panel for my card. I then stamped the button image from the NOTIONS stamp set at the bottom of the cut panel, then left a little space in between to add the pink stamped and die-cut bow from BOWTIFUL stamp and die set. I also stamped some tiny hearts from the Bowtiful set as well :).

Next, I distress the bottom of the card base with Picked Raspberry and then stamped the sentiment "Love You Sew Much" from NOTIONS stamp set. I then added a pink die-cut heart from using the TINY HEART die. After everything all stamped, I then adhere the panel with foam dots for dimensions.


Here's the full view of the card.


I hope you enjoyed!

Thank you so much for visiting me.
Have Wonderful weekend :).