Monday, June 30, 2014

N&T - So Very Blessed!

Hello Everyone,
Today I am sharing a watercolor flower cards at 

Here's the sneaky peek :)


 I  hope you will enjoy and give it a try sometime.

Thank you so much for visiting!
Have a Fabulous week :)


..................................................................................................................................
The comments on this post has been disabled.
Thank You

Sunday, June 29, 2014

Happy Birthday - Make A Wish

Hello Everyone...this is just a card share using Mama Elephant's stamp set.
I made this card for a Birthday party for my daughter's friend....she's 10.
My daughter said, "Ma! please don't make the card pretty she will just throw it away"....Kids ^-^.

Still couldn't help it have to white embossed the sentiment and added some distressing on the panel.


I also added some Wink of Stella glitter pen too :)


Here's the full view.


I hope you guys like this short post!
Have a GORGEOUS week :)


..................................Stamps Used..................................


Saturday, June 28, 2014

Surface Tag


Hello Everyone...today I am sharing with you some of the projects I created using the new release SURFACE TAG stamp set, Surface - Tag dies starter Kit, and Surface - Tag Scallop add-on.
There are just so many possibilities with this kit. The Waffle Flower design team will have a special post on July 5 on different unique ways of using this set :).

For my first project is very simple I used different patterned papers and die cut the tag from the Surface - Tag dies starter Kit, but instead of using the full size of the tag I made it shorter. I did this by hanging the portion of the tag on die-cut before die-cutting it. 


Next, I die-cut the double ended tag enforcer that's included with Surface - Tag dies starter Kit  on gold cardstock and adhere on top of the tag then adhere the tag with foam dots.
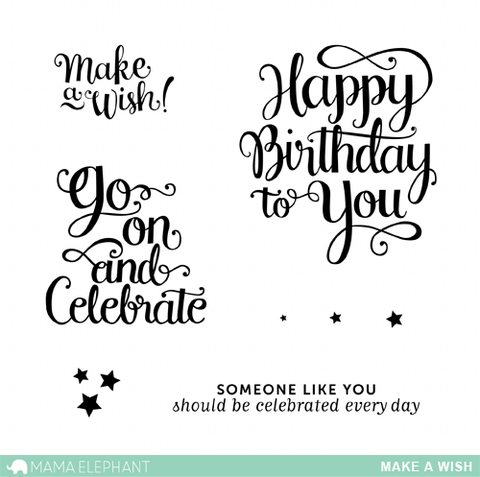
To finish of the card I gold embossed the sentiment "Happy Birthday" from the SURFACE TAG stamp set  and adhere on the top of the cut black piece of card stock on the tag.


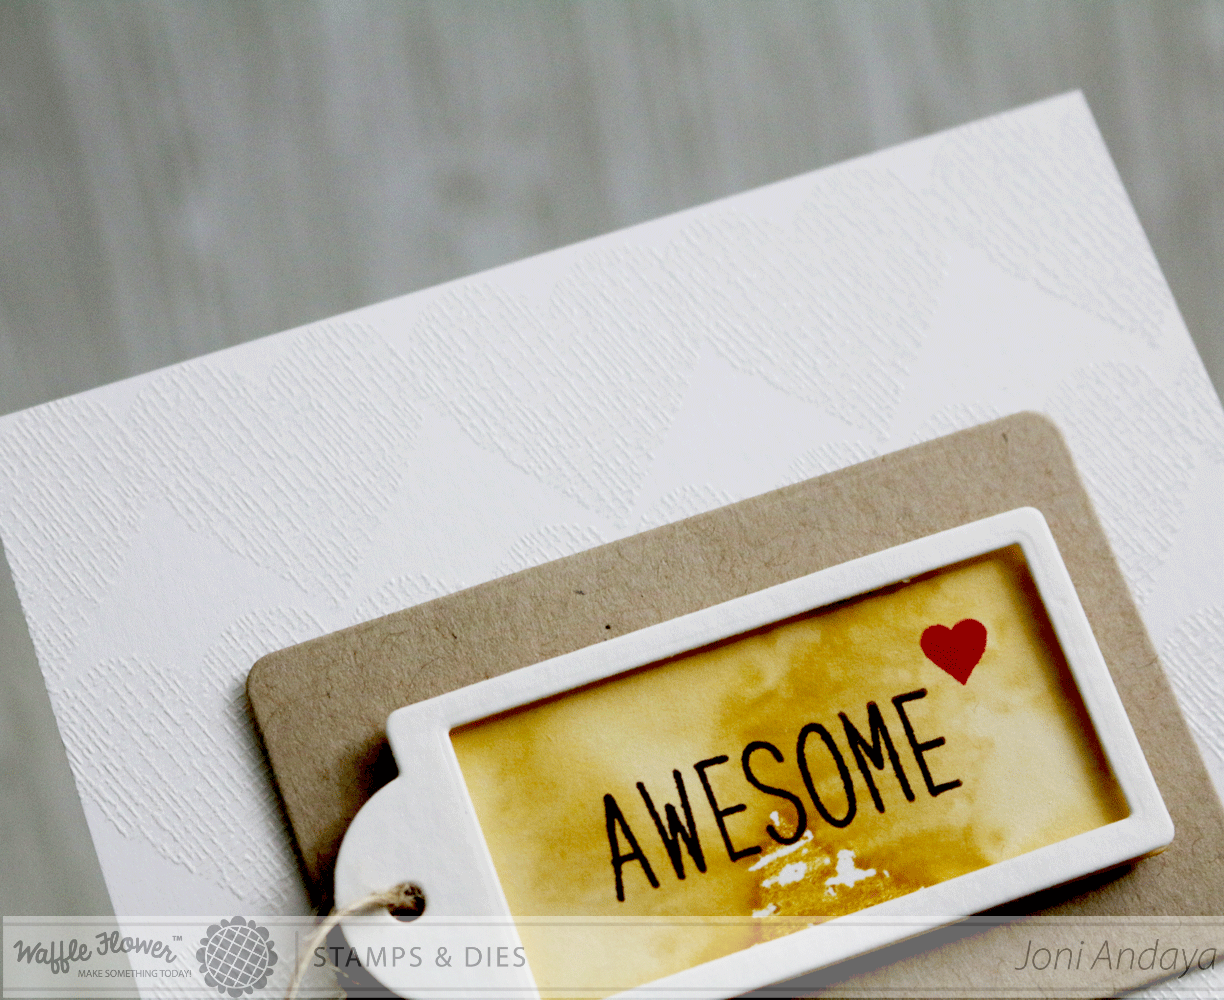
To begin my second project, I created my card base then white heat embossed the heart image that's included on the SURFACE TAG stamp set. I stamped the heart on the whole card base as a subtle background. I hope you can see it in this image :).


Next, I die-cut the kraft cardstock using the rectangle die-cut for the tag that is included on the Surface - Tag dies starter Kit. I have to shorten the kraft tag, to shorten the rectangle tag I place the cut tag hanging at the end of the die to the portion of the tag.


Next, I die-cut the smaller tag die on the set and watercolor it in and let it dry. Once its dried I then stamped the sentiment "Awesome" from  the BOWTIFUL ADDITIONS stamp set and added the tiny heart from SURFACE TAG stamp set. I also die-cut another tag and used the small rectangle die from the Surface - Tag Scallop add-on to create a window then adhere with foam dots.


For the tag round reinforcer die, after die cutting I cut the middle of the sentiment on the middle like you see below. I did this to help the sentiment "thank you" to bend to fit on reinforcer. It does not damage the stamp it goes back on the same shape once I am done with it :). I really love that this small image can add so much on the project.


Here's the full image.


For my last project, I want to show you first the pieces that I used for my card.
On this project I used the rectangle die that's included on the Surface - Tag dies starter Kit, I also gold embossed the string image from the stamp set. I also used the round reinforcer and die-cut it on gold cardstock. The "Happy Birthday" sentiment is also from the stamp set. For the panel for this card I use a watercolor paper and did some watercolor using distress ink pad.

The larger rectangle tag I folded it to house the smaller tag on my card to create a pouch and adhere the gold embossed "just because" sentiment.


Here's the full image.


I hope you enjoyed!
Thank you so much for visiting me.

Have A Wonderful Weekend!

Wednesday, June 25, 2014

Guest Designer Series @ Mama Elephant

Hello Everybody...today I have something especial for you at Mama Elephant blog.
I am Guest Designing for them this release, but I am highlighting a project where you can use with
all of your sentiments. Creating balloons out of them, although I did use a watercolor with my card but you can also mask the card then distress the sentiment to create this balloon project.

Here's sneaky peek:


I hope you will enjoy and give this a try ^-^

You can see all the details @ Mama Elephant blog.

Thank you so much for visiting :)
Have a Wonderful Day!


Just a reminder the comments on this post has been disabled - Thank You!

Monday, June 23, 2014

Hello Birthday!


Hello..hello...this is my 3rd post of the day.
If you are looking for NEAT and TANGLED please click HERE.
If you are looking for MAMA ELEPHANT w/ OWH post please click HERE.


.......................................................................................................................
Poppy Sketches are sponsoring by Pretty Pink Posh this week.
Let...Start...Create with the Challenge!!!
Something with Polka Dots.


For my card I used the Pretty Pink Posh Stitched Borders 1 die-cuts and Lawn Fawn Beep Boop Birthday.

1. First I crated my card base using the kraft cardstock.
2. I then cut my white panel using the ziz-zag die-cut from Stitched border 1.
3. Next I added some dots on my panel, hand drawing circles from copics.
4. Then sentiment "hello & birthday" are from the Lawn Fawn Beep Boop Birthday.


5. The "happy" die-cut is from Papertrey Ink Wet Paint Cuts die.
6. The patterned paper are from MME.
7. I added some Pretty Pink Posh sequins in Sparkling Clear 4mm and Marigold 6mm.


Here's the full view of the card.


I hope you enjoyed my 3rd post of the day :)

Don't forget to participate on Challenge if you have a chance.
Click here to view the Poppy Sketches blog.
Oh yes..Pretty Pink Posh is looking for a Guest Designer, see all the details HERE.


Thank you so much for visiting!
Have a Wonderful Monday :)

Mama Elephant & Operation Write Home Blog Hop

Neat and Tangled Post Please click HERE.
...................................................................................................................................................................


Hello Everyone this is my second post of the day
Welcome to the HOP :)
If you came by from Pamela Ho's Blog you are on the right place.


Mama Elephant is partnering this summer with Operation Write Home - they are a nonprofit that sends beautiful handmade cards to our service members so that they can write home to their families. Isn’t that just the best? There’s no Hallmark store in the desert, so this is a pretty important gift we can give them as crafters!

The “In My heart” set was inspired by the mission of OWH; Mama Elephant knows that many of those serving overseas have little children at home that they write to. So we designed cute little kids and sentiments to express just how much those little folks are missed! Mama Elephants images on this set are done in such a way that they can be adapted to different ethnicity, making this a really flexible set.
MAMA ELEPHANT will be donating 20% of the proceeds of the stamp sets sold on their retail site from now until July 31st - we really want to help them fundraise for all their efforts!

We know you are excited to join in on the mission to serve the troops - be sure you visit the OWH website and read all the guidelines carefully….you’ll learn about why glitter is dangerous to send, so leave the stickles behind when making cards for heroes! Lots more information is available on their Welcome page - tons of questions are answered there! And they have a fun YouTube show each weekday with project info, tutorials, and more - check it out HERE.


..................................................***................................................

For my card I used the stamp sets IN MY HEART and PARTY KIT.
For the sentiment I used the UP and AWAY.

I first distress the top of the panel with peacock feather ink. Then stamped the streamers in different colors on the white panel and dotted lines. This helps the little boy to hang on to something :) I think he is really cute!

I then splatter the panel with Peacock Feather after diluting it with water, splatter it with Heidi Swapp in Gold, and Studio Calico Mr. Huey in Shine.

Next, I stamped, colored, and die-cut the little kid image then adhere him on the dotted line hanging :0) with foam dots.

Lastly, I stamped the sentiment to finish off the card .


Another view from here :0)


Here's the full view of the card.


I hope you enjoyed!!!
You will really enjoy this set so much :0).

Thank you so much for visiting me!!!
Have a Wonderful Monday :0)


Your next hop is on  Kathy Racoosin's Blog

You can also click the Mama Elephant's Blog to see the other designer's work showcasing this Fun and Cute stamp set.


Neat and Tangled + Scrapbook Adhesives Day1

Hello Everyone...Neat & Tangled and Scrapbook Adhesives are having a 
Blog Hop!


For my card I used the stamp set from Neat and Tangled Clouds. I stamped the clouds on the cardstock, fussy cut, formed it into a flower, then adhere on the card. The leaves are cut by hand and the sequins are Buttercream from Neat & Tangled.

The Scrapbook Adhesives by 3L I used on my cards are 3D Foam Squares
Adhesive Sheets, Dodz, and E-Z Dispensers.


The second card after watercoloring the background of the panel, I adhered the new A Lot to Say die along with Tiny Triangles to create the focal point on my card. The sequins are from Neat and Tangled Pearl Satin and Pretty Pretty Pink Satin.


I hope you enjoyed!


PRIZES: 2 prize packs each containing "a selection of Neat and Tangled's most popular stamps and sequins valued at over $25, as well as a selection of popular products from Scrapbook Adhesives by 3L valued at over $25.00" 1 winner chosen from Neat and Tangled blog comments, one from SBA blog comments


Thank you so much for Visiting :)
Have a wonderful Day!


Saturday, June 21, 2014

Guest Designer Call!!!

Hello Everyone...just want to share that Pretty Pink Posh is in SEARCH for a Guest Designer.
You can see all the details at Pretty Pink Posh Blog.


Friday, June 20, 2014

Mama Elephant Stamp Highlight - My Sunshine


Hello Everyone...I am back in Guest Designing with Mama Elephant's Stamp Highlight
 MY SUNSHINE.

Awesome set with a large sun-rays with fantastic sentiments.
On my card I also used the In My Heart (the girl), Bloomsies (flowers & leaves), and Party Kit (for the bow).

1. First I crated my card base then adhere a yellow striped patterned paper.
2. I also cut a white panel where I stamped the sun-rays from MY SUNSHINE then a Kraft panel to adhere at behind the white panel.
3. I stamped the sentiment first on the white panel with the sun-rays, then adhere the little girl, and the flowers/leaves to finish off the card.


Here's the full view of the card.


For my second card I made the sun-rays in vertical position this time around :)
The stamp set I used were My Sunshine (sun-rays & sentiments), Water Blooms (background flowers), Just Hatched (birds), and Up and Away (umbrella).

1. First I made my card base from a cream cardstock, stamped the flowers from Water Blooms for the background. I also die-cut the stitched cloud die from Landscape Trio from a light blue dots patterned paper and adhere on the card base.


2. I then stamped the sun-rays image from the My Sunshine and stamped the sentiment from the same set.
3. I then cut the sun-rays and adhere on the pink cardstock panel for border.


4. I then stamped, colored the images with copics, die-cut, and adhere on the sun-rays panel.
5. To finish off the card I added some Sparkling Clear sequins in 4mm from Pretty Pink Posh.


here's the full view of the card.


I hope you enjoyed!
Thank you so much for visiting me :)
Don't forget to stop at Mama Elephant's blog to see the work of the ME design team.

Have a FABULOUS weekend!!!


Thursday, June 19, 2014

Mama Elephant Stamp Highlight - Bountiful Blessings


Hello Everyone....today I am sharing another new released stamp set from Mama Elephant.
BOUNTIFUL BLESSINGS
This set is full of pretty sentiments with tiny flowers, leaves, heart, and dots.

For my project I simply just used the tiny flowers, leaves, and dots from the set.

1. To begin, I first create my card base from white cardstock.
2. Next, I started stamping the tiny flowers and leaves first and then filled the space by the stamping clusters of dots everywhere on the card base and the panel.
3. The panel was die-cut using the Femme Frame rectangle stitched creative cut.


4. Once the stamping is done, then I created a window on the panel to make a shaker card.
5. That sentiment "Oh Happy Day" is simply gorgeous, I think is so perfect for a shaker card to make someone happy. If you want to make your own shaker card you can get tips here. The sequins I used were from Pretty Pink Posh Marigold, Sparkling Clear, and Marshmallow 6mm and 4mm.


Here's the view of the full card.

I hope you enjoyed!

Thank you so much for visiting me.
Don't forget to stop at Mama Elephant's blog to see the work of the ME design team

Have a Gorgeous day!!!


Wednesday, June 18, 2014

Mama Elephant Stamp Highlight - Bloomsies


Hello...hello...I am back with Guest Designing with Mama Elephant's
Stamp Highlight - BLOOMSIES.

This set contains little blooms that can be three-step stamping and combined with the pretty banner.
This set also has a matching creative cuts that is so easy to use.
There's so much to do with this set. For my card I simply just used the set as it is, and also used another  sentiment from Bountiful Blessings (Mr and Mrs) also from the June released.


1. To begin I created my card base with a kraft cardstock and added a panel of aqua a little bigger than the white panel that I die-cut using the stitched rectangle from Femme Frame Creative Cuts that I adhere with foam dimensional tape.
2. I then stamped the baby's breath image from the Bloomsies set to create my wreath.
3. Next, I stamped and die-cut some flowers and leaves from the Bloomsies set.


4. I also stamped, colored, and fussy cut the sentiment from Bountiful Blessings (Mr and Mrs) to add as a wedding card, though can also work as an anniversary.
5. I then tucked in the flowers behind the (Mr and Mrs) sentiment.
6. I also added the banner from the Bloomsies  set and adhere with foam square.
7. To finish off the card I added some gold and white pearls here and there :)


Here's the full view of the card.

I hope you enjoyed this fun set.

Thank you so much for visiting me.
Don't forget to stop at Mama Elephant's blog to see the work of the ME design team

Have a Beautiful day!!!


Tuesday, June 17, 2014

In My Heart - Mama Elephant Stamp Highlight


Hello Everyone....I hope you enjoyed the Stampede so far.
Today the Design Team and the Guest Designers are showcasing 
IN MY HEART stamp set and dies.

On my first card I created a birthday card for a boy using IN MY HEART (boy and 3 stars), Make A Wish (sentiments and stars), and Up and Away (balloons) stamp sets. I also used the Landscape Trio Creative Cuts (this helped me create my cloud background).
 Remember that all of these sets are available to purchase at the ME Store.

1. To begin, I created my card base and then masked the cloud die from the Landscape Trio Creative Cuts then distress using the in pad Peacock Feathers for the hint of blue.


2. Next, I stamped the sentiment from Make A Wish  with versamark ink and heat embossed the sentiment in gold.
3. I then added the star from IN MY HEART and from Make A Wish.


4. Next, I stamped and die-cut the boy from IN MY HEART and the balloons from Up and Away, then adhere with dimensional tape.
5. I also added some grass using copic markers and added Wink of Stella Clear Brush for shine.


Here's the full view of the card.


For my second card I also used the stamp set from Bloomsies (I used banner, leaves, and tiny middle center of the flower). I really love the banner from this set, really complements the IN MY HEART in every way.

1. I first created my card base using a kraft cardstock. I also cut a piece of striped patterned paper from October Afternoon to adhere on the side.
2. Next I stamped the panel with falling leaves from this set, to imitate fall. 


3. Then I stamped, colored, and die-cut the banner and the little girl.
4. Next, I watercolored the ground and added some leaves on the ground to finish off the card.


Here's the full view of the card.


I hope you enjoyed IN MY HEART.


You would really enjoy these cute little people once you get your hands on them.
Don'f forget to checkout Mama Elephant's blog to see the work of the ME design team.

Thank you so much for visiting.
Have Wonderful day :)